The Feather Girl
Shop
Blog
About
Cart (
0
)
0
The Feather Girl
Shop
Blog
About
Contact us
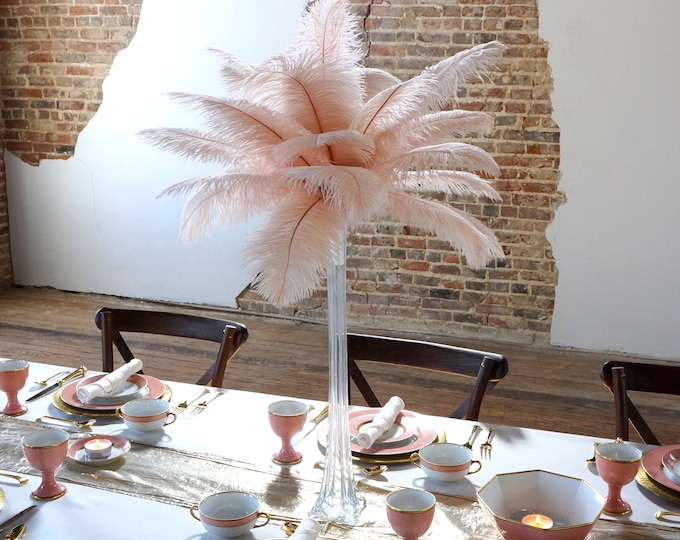
Featured Item
CHAMPAGNE Ostrich Feather Centerpiece Sets CLEAR Eiffel Tower Vase - For Great Gatsby Party, Special Event & Wedding Reception Decor ZUCKER®
$92.56
Shop Now
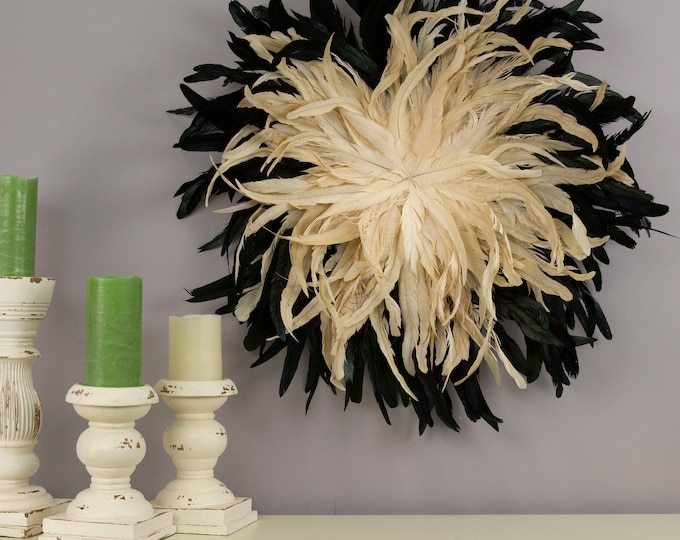
Featured Item
Unique Decorative Feather Wall Art, Feather Art Inspired by African JuJu Hats, Wall Decor for Home and Office, Feather Placemats ZUCKER®
$94.59
Shop Now
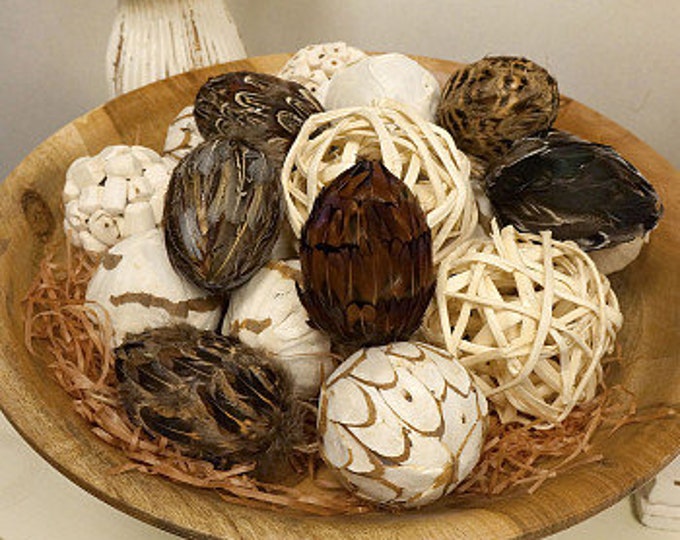
Featured Item
Decorative Feather Ornaments - Unique Egg Shaped Ornament for Easter, Thanksgiving & Christmas Holiday Decor, Rustic Fall Weddings, ZUCKER®
$14.19
Shop Now
Collections
Feather Wings & Masks
Feather Fans & Boas
Feather Headbands & Clip
Feather Headdresses
Feather Collars & Cuff
Feather Carnival Costume
Feather Garments
Feather Hat & Lapel Trim
Feather Fringes & Pads
Feather Crafting Kits
Centerpieces & Vases
Seasonal & Home Decor
Ostrich Feathers
Pheasant Feathers
Rooster Feathers
Peacock Feathers
Goose & Guinea Feathers
Turkey Feathers
Fly Tying Materials
Face Masks & Coverings
0 items in your cart
Close
Keep shopping! :)
Legal imprint
Close


 Feather Wings & Masks
 Feather Fans & Boas
 Feather Headbands & Clip
 Feather Headdresses
 Feather Collars & Cuff
 Feather Carnival Costume
 Feather Garments
 Feather Hat & Lapel Trim
 Feather Fringes & Pads
 Feather Crafting Kits
 Centerpieces & Vases
 Seasonal & Home Decor
 Ostrich Feathers
 Pheasant Feathers
 Rooster Feathers
 Peacock Feathers
 Goose & Guinea Feathers
 Turkey Feathers
 Fly Tying Materials
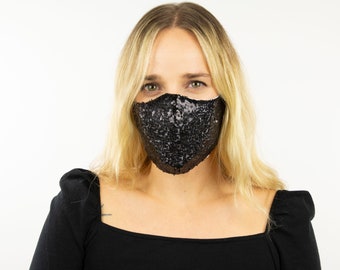 Face Masks & Coverings